After months of prepartion and research, we took the plunge and made our first home brew. While we did find a lot of information on brewing and plenty with recipes, we ended up purchasing a prepackaged kit from Alternative Beverage, their
Evil Summer Wheat kit. This kit could be considered an intermediate brewing level because it contains flavoring malts and hop additions. A beginners kit would only have DME (dried malt extract), which will also make a wonderful beer. We chose this particular package for a few reasons. We thought our research gave us enough knowledge to be able to handle an intermediate style kit. Also, this type of kit gives the brewer freedom to customize flavors, which is our future goal. This particular kit was on sale, so if we screwed it up by jumping to an intermediate level too quickly, then we weren't out too much money. Plus, this is my favorite style of beer, which happens to be simpler to brew than D's favorite styles!
The kit included:3 lbs of Wheat DME
3 cups of Crystal Malt -10L
3.4 oz Sterling, bittering Pellet hops (5.3 alpha)
1 tablet Whirlfloc
2 lbs Honey
1/2 oz cascade, aromatic Whole hops
1 cup of Priming Sugar
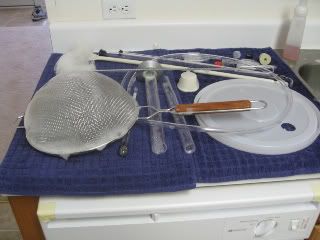
The first step is to
clean and sanitize all equipment to be used. And I mean everything.
(our equipment air drying post cleaning and santization)
The crystal malt will add additional flavor to the beer. The main source of sugars comes from the DME, but additional sugars will be gained from steeping the crystal malt. The crystal malt needs to be steeped in 1 gallon of water between 150-160 degrees F for 20-60 minutes (refer to the recipe you are following for exact times). The grains are steeped separatly from the rest of the brewing process because high boiling water temperatures will release bitter flavors from the crystal malt.
(grains just added to water)
(watching the temperature carefully)
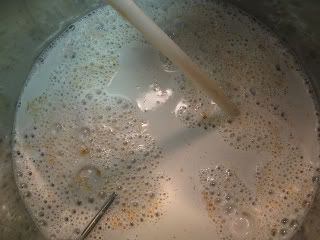
Preparing the DME for boil: We added our DME to our brew pot and 2 gallons of water.
Then we stirred it up to get all of the DME to dissolve.
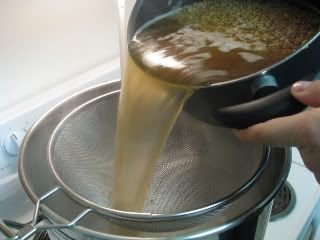
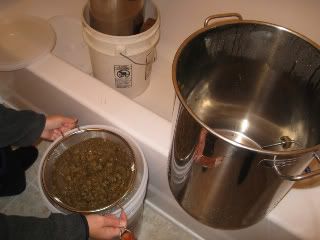
When the crystal malt was done steeping (our recipe indicated 30 minutes), we poured the steeped liquid through a strainer into the main brew pot. You do not want the crystal malt to enter the main brew pot.
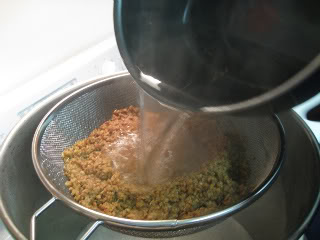
You will end up with all the yummy grain in your strainer. We took an extra gallon of water and poured it through the grain to rinse in more good flavor (called sparging).
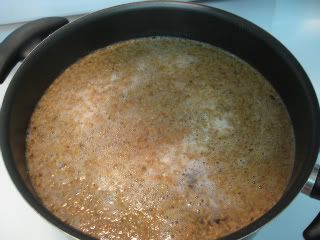
Now remove the grain and strainer and crank up the heat on the brew pot. You will want to hold the brew at boiling for the time indicated for your recipe. Our particular recipe said to add the bittering hops at the start of the boil, then continue to boil for 35 minutes, add the Whirlfloc tablet (gets rid of haze, clarifying agent) and continue boiling for an additional 10 minutes. Then the aromatic hopes are added, and boiled for another 2 minutes. The pot was removed from heat and the 2 lbs of honey was added.
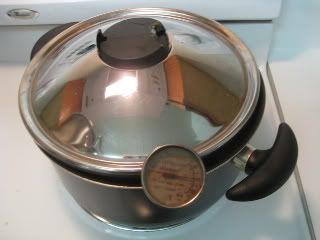
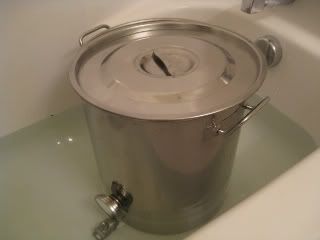
It is important to cool your brew down to 70 degrees F as fast as you can. Put a lid on the brew pot and keep it slightly vented, but do not stir or aerate the liquid while it is hot. Aeration will give your beer a stale taste. Put the brew pot into a ice water bath. Unfortunately we do not have any basin/tub that was large enough to fit the brew pot, so we had to use the next best thing, our bathtub. Cooling can take up to 30-45 minutes. Add ice or refresh water to ensure it does not take any longer than this.
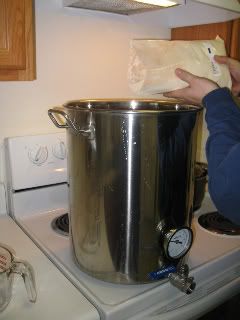
Once the liquid is cool, you can now add it to the fermentation vessel. Because of our hop additions, we needed strain the brew again on the way to the fermenter. (since the strainer was already used for the grain earlier, the strainer needed to be re-cleaned and sanitized). Now that the liquid is cool enough, you are now encouraged to aerate the liquid while pouring into the fermentation vessel. This will give your yeast better fermenting ability.
Now that the brew is in the fermentation bucket, you need to add water to make it to 5 gallons. We once again sparged the hops when we added our extra water. More flavor the better! Once at 5 gallons and thoroughly mixed, you can now take your first gravity reading.
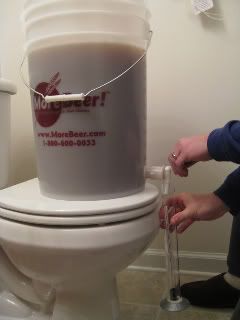
Now you can add your yeast - follow direction on the package for whatever yeast you purchased. We only had to empty the packet into the fermentation bucket. Then you need to seal your bucket and attach the sanitized air lock. Keep your brew sealed in a cool dark place and we will continue with another post for the following steps.
Also stay tuned for brewing blunders......


